
Vision Language Model: Scene Description on SL2610-Series
Complete the Getting Started with SL2610 guide first. It covers setting up your board, cloning the examples, and creating the Python environment. Activate the environment with source .venv/bin/activate in each new terminal.
A Vision Language Model (VLM) understands both images and text. You give it a picture and a prompt, and it answers in natural language. This lets a device describe a scene, answer questions about a photo, or read what is in front of it, without a fixed list of labels as in image classification or object detection.
In this guide you press a shutter button, the board captures a photo, and LiquidAI LFM2-VL-450M describes it. Both the vision encoder and the decoder run on the Torq NPU in bf16.
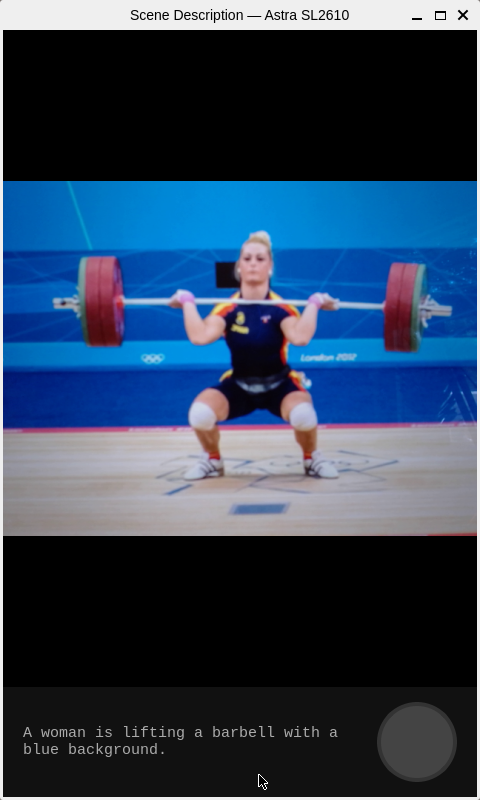
Run Scene Description on Astra
Hardware
- Astra Machina SL2610 Dev Kit or Synaptics Coralboard
- A camera: a USB (UVC) camera or a MIPI CSI camera such as the OV5647 on the Coralboard sensor hat
- A display such as the 7" Waveshare touchscreen for the GUI (the CLI works without one)
Install the example-specific dependencies and download the model:
cd scene_description
pip install -r requirements.txt
python setup_demo.py
The model files are stored in models/Synaptics/LiquidAI-LFM2-VL-450M/.
Scene Description on the edge
Run without a display
run_cli.py takes one photo and prints the description in the terminal. The photo is saved as scene_capture.jpg.
python3 run_cli.py
Or describe an existing picture instead of using the camera:
python3 run_cli.py --image ../samples/dog_bike_car.jpg
Run the GUI
Set up the display environment from the Getting Started guide, then for portrait mode on an 800x480 display, run the shared setup script from the repository root (see the repository README, Device Configuration section):
./setup/portrait_setup.sh
Then start the app from the scene_description folder:
python3 run_gui.py
Press the shutter button to capture an image. The photo and prompt are sent to the VLM on the NPU, and the description appears when it is generated.
Cameras
USB cameras are used as they are, since they auto-expose. A MIPI CSI camera has no working auto-exposure and gives black frames at its default gain, so the app sets exposure and white balance and tunes the gain from the image brightness when the camera opens (about one second). If both camera types are connected, auto prefers the USB camera. Pass --camera-device /dev/video0 to use the CSI camera.
The image is not rotated by default. If it appears upside down, add --rotate 180.
Additional options to try
--camera-device, a device such as/dev/video0, orauto(default)--rotate {0,90,180,270}, rotate the camera feed clockwise--prompt, the question sent to the VLM. The default is "Describe this image in two sentences."--models, folder holding the LFM2-VL-450M files--no-refresh, skip the Hugging Face freshness check for offline runs
Try asking a more specific question:
python3 run_gui.py --prompt "What is the main object in this photo, and what color is it?"
Models
This tutorial uses the following pre-compiled model for the SL2610-Series. See the model page for details, performance and download links:
Browse all models on the Models page.
Python walkthrough
The VLM wrapper (LFM2VL) is imported from the LiquidAI/LiquidAI-LFM2-VL-450M example in the repository's Torq examples. run_gui.py opens the camera with app_utils.camera, rotates the frame, saves the capture, and passes the image and prompt to the model. The NPU is prepared before inference and released on exit.
Review scene_description/run_gui.py and run_cli.py to learn more.